

PET Hot-Fill Bottle Mold Design: Neck, Base, and Panel Requirements
Hot-fill PET bottles are designed around what happens after filling, not only how the empty container looks. A beverage filled at elevated temperature cools inside the package, changes internal pressure, and can pull flexible areas inward. A sound PET hot-fill bottle mold design therefore coordinates the neck finish, preform, shoulder, base, vacuum panels, cooling, and closure application conditions from the beginning. The practical rule is simple: define the filled-product behavior first, then translate it into preform and blow-mold geometry.
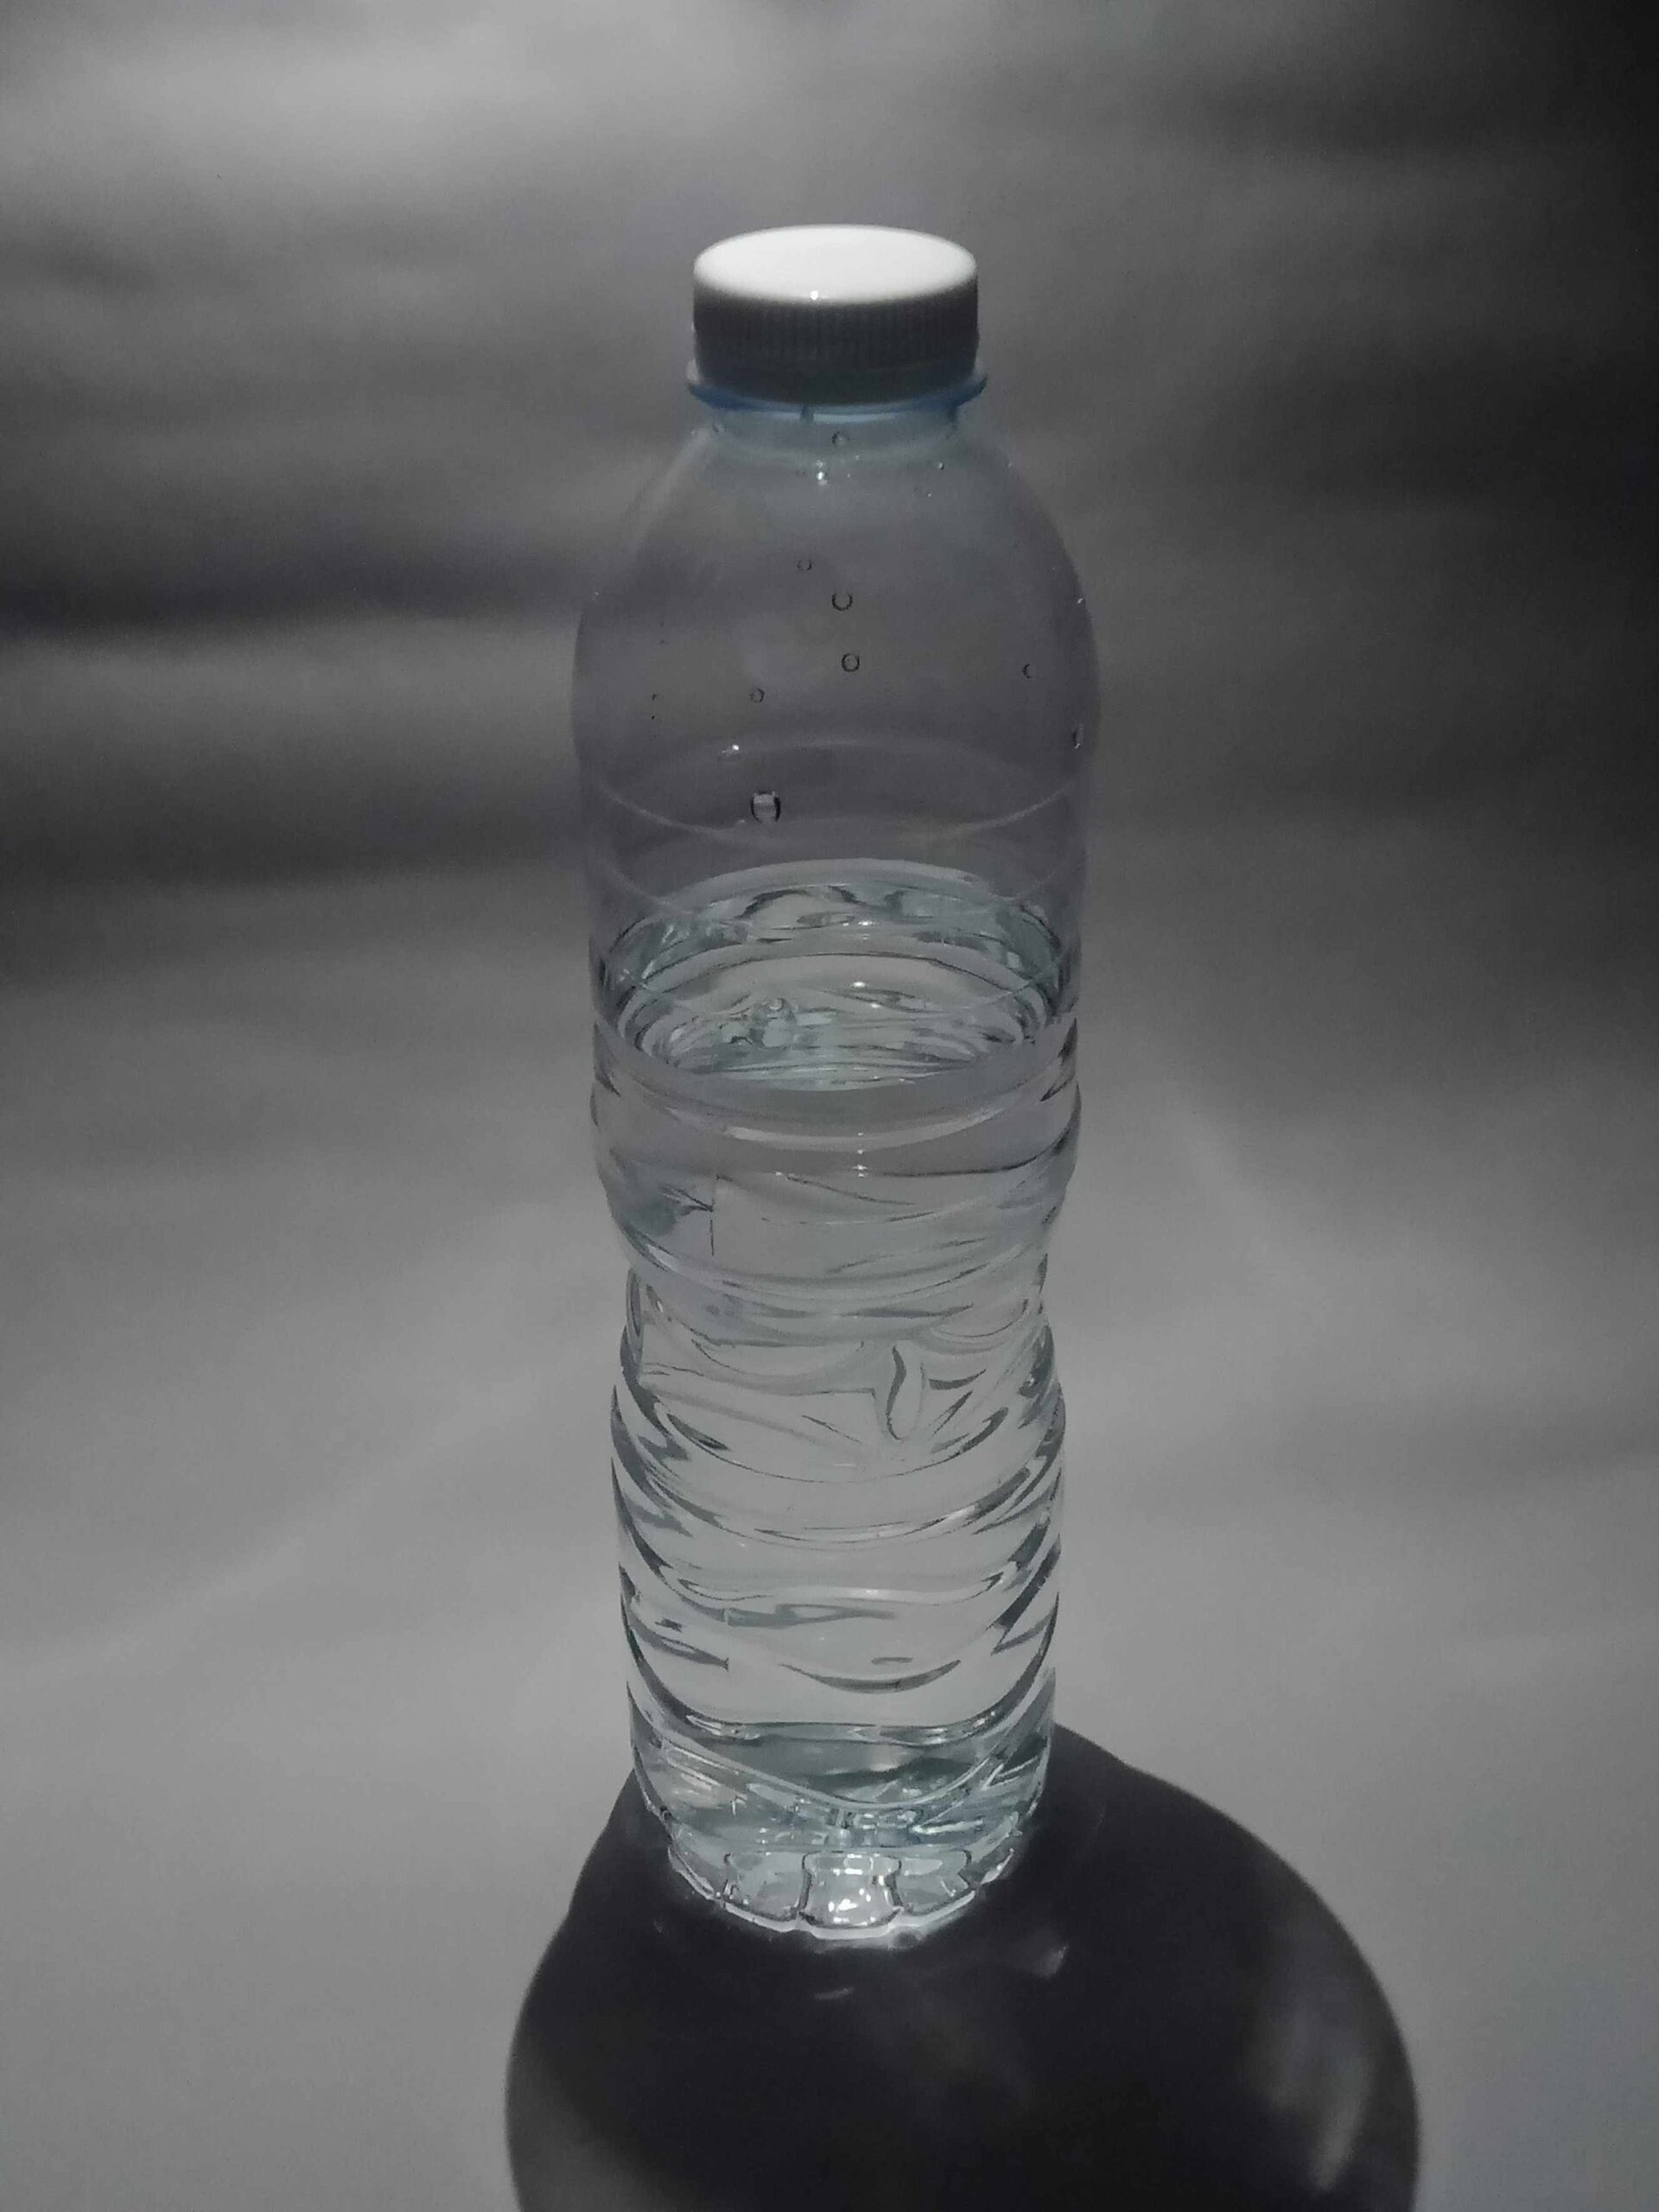
What Makes Hot-Fill Bottle Mold Design Different?
A conventional bottle geometry may be adequate near ambient temperature yet become unstable when filled hot and cooled. As liquid and headspace contract, the container can experience negative pressure. The body must accommodate that movement while retaining a stable base, label panel, and acceptable appearance.
This changes the mold discussion in four ways:
Thermal loading: The filling temperature, residence time before capping, and cooling route influence how much the body moves.
Vacuum management: Panels or other compliant features give the wall a planned place to deflect instead of allowing random buckling.
Load transfer: The shoulder, sidewall, and base must share stresses without creating weak transitions or an unstable footprint.
Closure control: The neck and cap must maintain sealing and application performance while the body changes shape.
Record the product, fill conditions, cooling profile, bottle volume, closure, label, and distribution environment in one design brief. These inputs anchor each mold decision.
How Should You Set the Neck Finish for Hot-Fill Compatibility?
The neck is a rigid interface and often becomes the package datum. Start with the approved neck standard and closure, then confirm the sealing land, thread profile, tamper-evident ring, cap application method, and headspace. A drawing can still fail when cap, finish, and filling equipment use different references.
Keep the following relationships explicit:
Preform neck and bottle neck: The injection-molded preform must preserve the finish dimensions through reheating and stretch-blowing.
Sealing land and cap liner or plug: The closure seal should be checked with the actual cap design and application load.
Thread and tamper-evident features: Thread start, lead, and ring clearance affect capping, removal, and package opening.
Neck support and body transition: The neck-to-shoulder transition should avoid a sudden wall change that concentrates deformation.
Headspace and fill process: The amount of air above the product affects pressure change as the package cools.
When a project changes from one neck standard to another, treat it as a packaging-interface decision, not a small cosmetic revision. The neck-finish conversion guidance can help the team align the finish reference before the preform mold is detailed.
Which Base and Panel Features Control Hot-Fill Bottle Stability?
The base and body panels provide the controlled flexibility that a hot-fill package needs. Develop them together with the shoulder, label panel, and cooling direction.
|
Bottle feature |
Thermal or packaging job |
Mold design question |
Evidence to collect |
|---|---|---|---|
|
Base feet or petaloid structure |
Keep the cooled bottle standing and distribute load |
Does the footprint remain stable after thermal contraction? |
Filled and cooled bottle stability, base profile, load test |
|
Vacuum panels |
Provide planned inward movement |
Are panel depth, width, and location compatible with appearance and label coverage? |
Panel deflection, recovery, label fit |
|
Shoulder transition |
Transfer load from neck to body |
Is the transition smooth enough for the intended wall distribution? |
Wall-thickness map and shoulder appearance |
|
Label panel |
Preserve graphics and handling area |
Will panel movement wrinkle or distort the label? |
Label fit before and after hot fill |
|
Body ribs or contours |
Add stiffness or guide deformation |
Do contours improve stability without trapping material variation? |
Section profile, filled shape, and dimensional repeatability |
A wide label panel may need shallow, distributed panels rather than a few deep cavities. That choice can preserve branding space but require tighter preform distribution and a different shoulder transition. A highly contoured bottle may manage vacuum while making reheating and label application more sensitive. Geometry should follow product and process evidence, not a universal panel dimension.
How Do Preform and Blow Mold Inputs Connect?
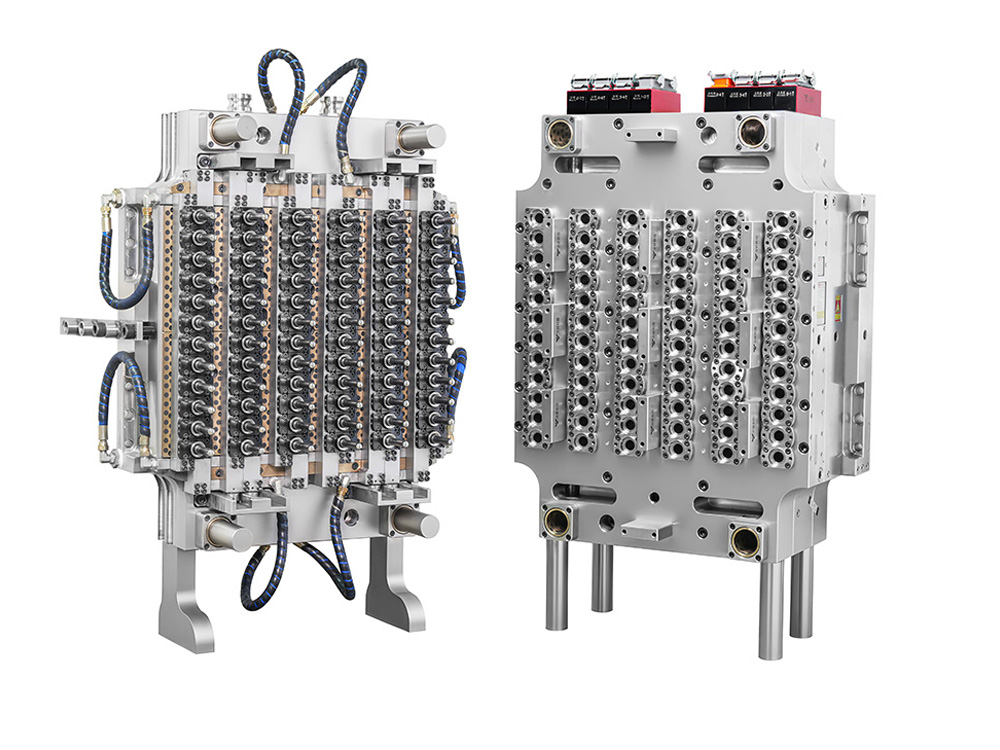
Hot-fill performance is set across two tooling stages. The PET preform mold determines the neck, gate, weight, length, and initial material distribution. Reheating then prepares that preform for the stretch and inflation sequence in the PET bottle blow mold.
The interface review should connect:
preform weight and length to bottle volume and stretch ratios;
gate position and neck control to the base and shoulder material balance;
reheating zones and preform rotation to the areas that must stretch;
cavity geometry, venting, and cooling to the finished bottle profile;
cavity identification to samples and measurements collected during trials.
A bottle drawing alone cannot confirm this chain. Record which dimensions belong to each mold and which depend on process settings, and evaluate local material distribution around deep panels or a demanding base.
How Can You Validate a Hot-Fill Mold Before Tooling Approval?
Validation should turn each design assumption into a measurable observation. A practical sequence is:
Review the bottle, closure, fill, cooling, label, and machine inputs as one controlled design set.
Measure preform neck, weight, length, and critical sections by cavity.
Run blow trials and inspect the base, shoulder, panel profile, neck, and label area.
Fill representative bottles under the agreed product and temperature conditions, then record contraction, panel response, base stability, closure fit, and appearance.
Retain samples from the beginning, middle, and end of the run and separate design targets from acceptance criteria.
For projects combining molds, automation, and auxiliaries, an integrated molding system review keeps interfaces in one discussion. Each result should identify the cavity, material, recipe, test condition, and bottle revision.
FAQ
These questions often arise when a packaging team moves from a general PET bottle concept to a hot-fill-specific mold review.
Can the Same PET Mold Be Used for Hot-Fill and Carbonated Drinks?
Only when the geometry, process window, closure, and acceptance tests support both applications. Carbonated-drink and hot-fill packages manage different pressure conditions, so shared tooling needs actual product trials.
How Deep Should Hot-Fill Vacuum Panels Be?
There is no universal depth. It depends on bottle volume, wall distribution, fill and cooling, label coverage, and appearance limits. Use simulation or controlled trials to verify predictable movement.
Does a Hot-Fill Design Require a Different Neck Finish?
Not always. The existing standard may remain suitable, but sealing land, cap, headspace, preform, and application conditions must be checked together. A neck revision requires a fresh interface review.
Is rPET Suitable for a Hot-Fill Bottle Mold?
Suitability depends on rPET grade, intrinsic viscosity, color, drying, process window, and product requirements. Validate the resin in the intended preform and bottle geometry.
Who Should Approve Hot-Fill Bottle Mold Geometry?
Packaging, process, quality, and tooling stakeholders should approve it together using the same drawings, samples, conditions, and acceptance record.
Plan the Next Hot-Fill Mold Review
Prepare the bottle drawing, fill temperature, cooling profile, closure reference, preform data, resin assumptions, target output, label constraints, and machine information. Then send your bottle data to HEYAN TECHNOLOGY for an engineering discussion focused on the preform, blow-mold, and line interfaces. A well-defined input package lets the team resolve neck, base, and panel decisions before detailed tooling work begins.