
PET Bottle Wall Thickness Measurement: Methods, Control Points, and Why Line-Level Stability Matters
Wall thickness is one of those numbers that looks small on a report, then turns into a big argument on the factory floor. If your PET bottle wall thickness drifts, you pay for it fast: burst failures, top-load issues, unstable fill performance, and sudden scrap that never shows up in the original cost sheet. Measuring thickness is the starting point. The real win is using those readings to lock down a stable process, so your bottle stays consistent across shifts, lots, and seasons.
Why Wall Thickness Matters in PET Bottle Projects
PET bottle wall thickness is not just “quality.” It is also material cost, shipping risk, and brand risk. A small thickness deviation can mean a bottle that panels during filling, a shoulder that cracks in cold storage, or a base that fails in a drop test. If you are cutting weight to save resin, thickness consistency becomes even more sensitive. You can hit the target average and still fail if the wall thickness distribution is uneven.
Thickness control also affects your production rhythm. If operators keep chasing wall thickness variation, cycle settings drift. You lose time, and the line becomes hard to run. That is why measurement needs to connect to the process, not live as a lab task that nobody trusts.
Common Methods to Measure PET Bottle Wall Thickness
There is no single “best” method. What works depends on whether you are doing early development checks, routine QC, or troubleshooting a defect. Many teams end up using one non-destructive method for fast checks, plus one destructive method for deeper root-cause work. The key is to measure the right locations the same way, every time, so you can compare data week to week.
Ultrasonic Wall Thickness Measurement
Ultrasonic wall thickness measurement is popular because it is non-destructive and fast. A pulse-echo ultrasonic approach can produce repeatable readings on plastic bottle walls when the surfaces are reasonably uniform, and it can be used on thin walls down to roughly 0.125 mm with accuracy around ±0.01 mm in some setups.
For production QC, this is useful when you need quick checks at incoming inspection, after mold changes, or during a weight-reduction trial. The limitation is simple: you get a number, but not the reason. If thickness is off at the base, ultrasonic readings tell you it is off. They do not tell you whether the cause is heating zoning, stretch timing, or cooling imbalance.
Magnetic Hall-Effect Thickness Measurement
Some wall thickness gauges use a magnetic target and a probe, based on Hall effect sensing. In a common workflow, you place a small target ball on one side of the bottle wall, put the magnetic probe on the opposite side, then read thickness based on the field change and calculated distance. It is also non-destructive, and it can be quick for spot checks.
This method can be practical for thin, non-magnetic materials like plastics. As with ultrasonic, it is best used as a measurement tool inside a bigger process-control routine, not as the only answer.
Micrometer and Mechanical Measurement
Mechanical thickness measurement is straightforward: you physically measure a cut sample. If you need a quick sanity check during development, it can be a simple option. It also helps when you do not trust field readings due to surface curvature or inconsistent contact.
The downside is that it is destructive and slow. It is rarely a good fit for high-frequency checks during normal production. Still, it can be a good “ground truth” when you validate a new measurement routine.
Sectioning and Cross-Section Analysis
Cross section thickness analysis is where you learn the most, especially for hard problems. You cut the bottle, prepare a cross section, and check multiple points. This shows your wall thickness distribution in a way spot measurements cannot.
It also costs more time. You will not do this every hour. Use it when you have repeat defects, when you are qualifying a new mold, or when you need proof for a corrective action report.
What Measurement Alone Cannot Solve
Here is the uncomfortable part: measurement does not fix the bottle. It only exposes the result. If your wall thickness variation comes from line drift, measurement can even make things worse, because people start changing settings without a clear plan.
Common patterns you may see include a thin base with a normal sidewall, a shoulder that varies by cavity, or circumferential thickness deviation that appears only after the line warms up. Those are process coordination issues. If your approach is “measure, tweak one knob, measure again,” you will burn days.
To control thickness deviation in PET bottles, you need to connect measurement data to the process stages that actually shape the wall.
Key Process Factors That Affect PET Bottle Wall Thickness
Wall thickness control is built upstream. In stretch blow molding, the bottle wall is formed by the way the preform heats, stretches, and inflates inside the mold, then locks in through cooling. The process is a chain. If one link drifts, your thickness consistency drifts with it. This is why the same mold can run great on one line and fight you on another.
Preform Heating and Temperature Zoning
Preform heating control sets the starting conditions. If heating is uneven, you get uneven stretch. That is when you see thin bands, thin shoulders, or heavy bases with weak sidewalls. Zoning also matters for repeatability. If your oven zones drift between shifts, the “same settings” do not mean the same output.
A practical tip: pick a small set of fixed measurement locations, then correlate those readings with heating adjustments. Do not chase every point on the bottle at once. You want a stable signal.
Stretching and Blowing Parameters
Stretch blow molding parameters control how material flows. Stretch rod timing, stretch speed, and pressure profile all push the wall thickness distribution in different ways. If the rod timing is off, the base can go thin even when the body looks fine. If the pressure ramp is too aggressive, you can create circumferential imbalance.
This is also where “looks fine” can fool you. The bottle may pass visual inspection, but still fail later in filling or distribution. Your measurement plan catches that before it becomes a customer complaint.
Mold Design and Cooling Balance
PET bottle mold design and cooling balance help lock the final geometry. Cooling that is not balanced can create local shrink differences, which can show up as thickness variation or dimensional drift. Mold venting, surface finish, and temperature stability also matter. If the mold runs hot in one area, you may see a repeating thickness pattern that follows that hot spot.
If you have multi-cavity tooling, cavity-to-cavity consistency is its own battle. When one cavity starts to drift, you want to detect it early, not after a pallet of bottles stacks badly.
Why Wall Thickness Control Is a Line-Level Challenge
Stable PET bottle wall thickness is not achieved by changing one setting. It comes from coordination across heating, stretching, blowing, and cooling. Once you view it as a line-level problem, your workflow changes. You stop blaming the bottle. You start checking the system.
This is also why many projects stall after a “successful trial.” A trial can look good for an hour. Production needs to look good for weeks. If your line has weak support systems, like inconsistent air supply or unstable cooling, your thickness will drift even with a strong mold.
At this stage, supplier capability matters. If you are evaluating partners, it helps to review how a blow mould supplier for PET bottles supports process stability beyond mold delivery. Thickness consistency often reflects the strength of that support.
From Measurement to Stability: How Line Support Improves Thickness Consistency
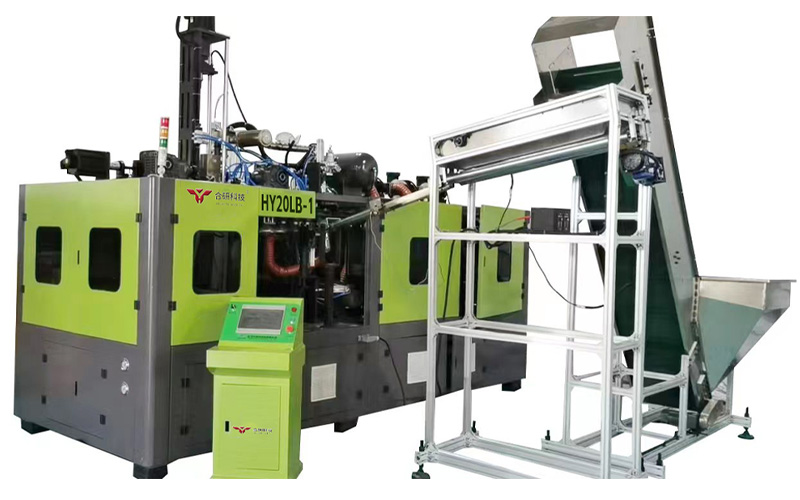
If you are running a real PET packaging project, measurement should feed into a control plan. That plan often requires more than a mold or a single machine. You may need coordinated support that covers host equipment, process applications, automation, auxiliary equipment, intelligent services, and even production environment factors.
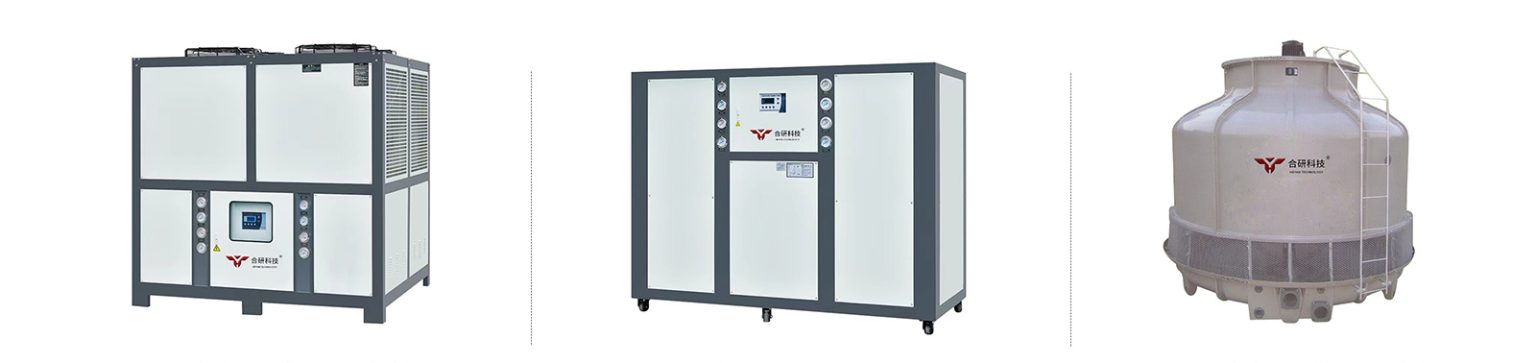
This is the idea behind a complete line supporting scheme: you control wall thickness at the system level, not by endless trial adjustments. A line plan that includes air compressor system layout and stable cooling water options helps reduce drift that shows up as thickness deviation later.
When to Focus on Measurement, and When to Fix the System
Use measurement-first when you are validating a new bottle, qualifying tooling, or checking whether a change improved the result. It is also the fastest way to confirm if a defect is random or repeatable.
Shift to system fixes when the same wall thickness variation comes back after every “successful” adjustment. If thickness drifts with line temperature, shift schedule, or compressed air behavior, you are not dealing with a simple parameter issue. You are dealing with stability. That is when you review heating control, air supply, cooling capacity, and process timing as a linked package.
Conclusion
PET bottle wall thickness measurement is essential, but it is not the finish line. It is the dashboard. The real goal is thickness consistency, not a single good reading. When you connect measurement methods to the process control points, you stop guessing. When you treat thickness control as a line-level challenge, you stop fighting the same problem every week.
A Precision Partner for PET Bottle Tooling and Line Support
HEYAN TECHNOLOGY (Foshan Heyan Precision Mold Technology Co., Ltd.) supports PET packaging projects where mold quality and line stability decide the outcome. As a high-tech enterprise that integrates R&D, engineering, production, and sales, HEYAN TECHNOLOGY focuses on preform molds, bottle blowing molds, cap molds, and related tooling for beverage and packaging applications. With more than 15 years of production experience, a factory over 5,000 square meters, over 150 devices, and a dedicated technical team, you can use HEYAN TECHNOLOGY to move from prototype trials to stable production with fewer surprises. If your project needs more than a mold, HEYAN TECHNOLOGY also provides turnkey system solutions that cover equipment selection, process application support, automation planning, auxiliary systems, and production environment guidance, so wall thickness control is managed as a full-line result, not a temporary setting.
FAQ
Q1: How many points should you measure on a PET bottle?
A: Start with a small, repeatable map. Many teams pick the base, lower body, mid body, shoulder, and neck area. If you change too many points at once, you get messy data and slow decisions.
Q2: Is ultrasonic wall thickness measurement accurate enough for thin PET bottles?
A: It can be, if your method is consistent and the bottle surface allows clean contact. Some ultrasonic approaches can read thin plastic walls down to about 0.125 mm with high precision, but you still need a clear routine and trained operators.
Q3: Why does wall thickness look fine in trials but drift in production?
A: Trials often run in a narrow window. Production adds heat build-up, air supply variation, cooling changes, and shift differences. If the system is not stable, thickness consistency won’t stay stable either.
Q4: Which is better for routine checks, ultrasonic or magnetic Hall-effect gauges?
A: Both can work for non-destructive checks. Ultrasonic is widely used for fast readings. Hall-effect style methods can be convenient for spot checks with a target and probe workflow. Pick the one your team can run the same way every time.
Q5: When should you stop tweaking settings and rethink the whole line?
A: If the same thickness deviation returns after “fixes,” or if the problem tracks air supply, cooling, or line warm-up, you are looking at a stability problem. That is usually a line-level issue, not a single-parameter issue.