

How to Choose the Right PET Neck Finish Before Ordering a Preform Mold
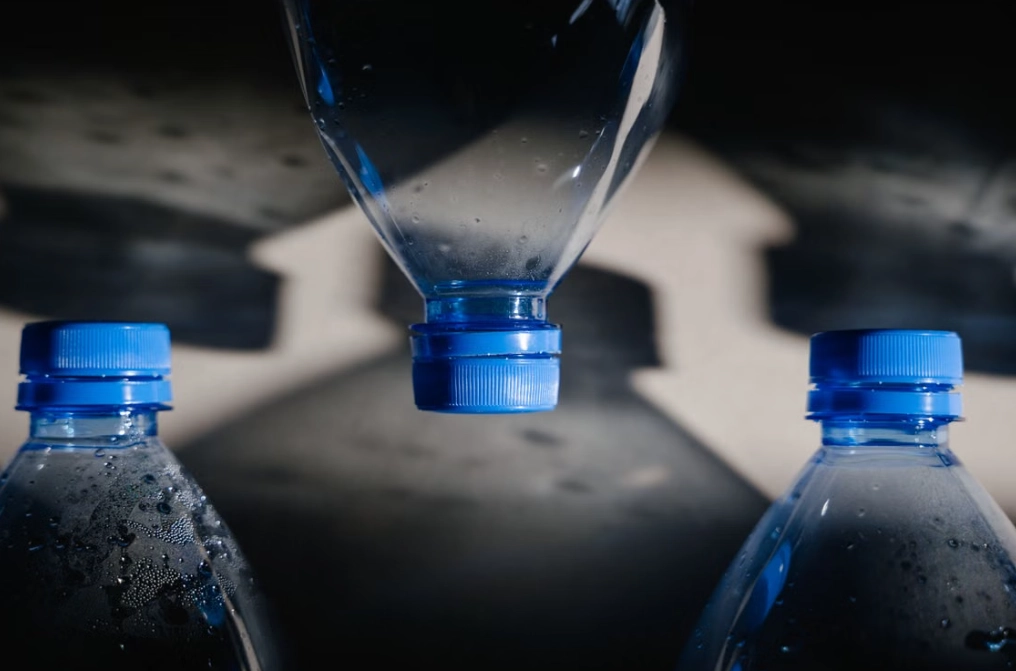
The neck finish controls a surprisingly large part of a PET package. It has to fit the cap, seal during filling and remain stable when the bottle is blown at production speed. A mistake here reaches into the preform mold, the cap, the blowing process and the filling line.
Confirm the neck finish before releasing the mold design. A wrong neck interface usually means new inserts, new samples or a tooling revision.
1. Understand Why the Neck Finish Comes Before the Mold
The neck finish defines how the closure engages with the bottle. Thread shape affects cap application. The sealing land affects leakage. The support ring affects preform transfer through heating and blowing.
A water bottle may run well at a slow trial speed but leak when the line is accelerated. The cause can be a small mismatch in finish height or an uneven sealing surface. When the mold has already been cut, correcting it is no longer a drawing exercise.
Design the preform mold around a confirmed closure system and an approved neck drawing. A bottle sketch alone is not enough.
2. Start With the Cap and the Product Application
The cap is the most useful starting point because it gives the neck finish a real mechanical reference. Ask the cap supplier for the latest production drawing and keep a physical sample for fit checks.
Identify the Closure System
Confirm whether the package uses a screw cap, sports cap, dispensing closure or another format. Check the thread profile, number of starts and tamper-evident band position. Some closures rely on a plug seal. Others use a liner or compression ring.
Do not order a mold from a nominal size such as “28 mm” alone. Two finishes with the same stated diameter can have different thread geometry, finish height and sealing surfaces. GPI or PCO references can narrow the search, but the approved cap drawing remains the controlling document.
Match the Neck Finish to the Application
The product inside the bottle changes the neck requirements. Carbonated drinks place pressure on the closure. Hot-fill products see temperature swings and vacuum during cooling. Edible oil needs a reliable seal. A detergent bottle may need a dispensing feature rather than a simple water-bottle closure.
Tamper evidence, resealing and opening force also belong in this decision. Hand-capped samples do not always predict automatic-line performance.
3. Check Filling, Sealing, and Distribution Conditions
The neck finish must work from filling to delivery. Record the filling temperature, internal pressure and capping torque range. Include capper speed. High-speed equipment exposes variations that a bench test can hide.
For a hot-fill bottle, inspect the neck after the product cools. For a carbonated product, run pressure and leakage tests with the actual cap. A transport trial can reveal a weak sealing interface.
Typical validation includes a leak test, cap torque test, dimensional inspection and a production-line trial. Add pressure or vacuum testing when the application requires it. The goal is a neck finish that stays within the process window.
4. Confirm the Neck Finish Dimensions and Tolerances
Once the closure and process are understood, convert them into controlled mold dimensions. The drawing should show the features that affect sealing and preform handling.
Essential Neck Finish Dimensions
Confirm the neck outside and inside diameters. Include finish height, thread profile, pitch and start position. Define the sealing surface. Record support ring diameter and position, neck wall thickness, concentricity and verticality.
The gate location and transition into the preform body deserve attention. A sharp transition can create stress or interfere with the stretch pattern. Review preform weight and length at the same time.
Why Tolerance Control Matters
Small dimensional errors can create cross-threading, loose caps or excessive application torque. They can also cause flash, short shots or uneven sealing. In a multi-cavity mold, cavity-to-cavity variation is an added risk.
Agree on critical tolerances, inspection gauges and first-article approval before machining starts. Keep the cap drawing, preform drawing and inspection report under the same revision. This prevents suppliers from following different versions of the “same” neck standard.
5. Match the Neck Finish With the Preform and Production Equipment
The finished bottle may look fine on a screen and still fail at the machine. Review the neck finish with preform weight, preform length, bottle volume and stretch ratio. Check the injection machine model, platen dimensions, hot-runner layout and target cavity count.
HEYAN TECHNOLOGY supplies multi-cavity PET preform molds from 1 to 144 cavities. That range makes the neck review especially important. A small imbalance is repeated across every cavity and multiplied at production scale.
The blowing stage needs the same attention. Check how the neck is gripped, heated and transferred. A change in finish height can affect the neck holder or bottle pitch. On linear equipment, preform spacing and transfer timing may become the limiting detail.
Review compatibility with the installed machine brand and bottle format. HEYAN TECHNOLOGY also supplies custom PET blowing molds for different applications and machine configurations.
6. Evaluate Mold Design, Maintenance, and Total Cost
Purchase price does not tell the whole story. Review the hot-runner and needle-valve arrangement, cooling balance and access to neck components. Ask how inserts are replaced and whether spare parts are available.
The same thinking applies to the closure. A project may need PET cap molds or a ring-lifting mold that follows the selected finish. Good maintenance access matters when the line runs multiple shifts.
Write trial conditions into the purchase agreement. Include sample quantity, dimensional checks, cycle target and acceptance process.
7. Pre-Order Checklist for a PET Preform Mold
Send the following information with the inquiry:
-
Neck finish drawing or confirmed standard reference
-
Matching cap drawing and physical sample
-
Bottle application and filling process
-
Bottle volume and target preform weight
-
PET resin specification
-
Injection machine model and available mold space
-
Required cavity number and annual output
-
Blow molding machine information
-
Critical dimensional tolerances
-
Product testing and mold acceptance criteria
If one item is not available, mark it as pending. An honest gap is easier to manage than an assumed dimension reaching the steel.
8. Turn Your Neck Finish Decision Into a Complete PET Production Solution
Neck selection is a good point to review the rest of the line. HEYAN TECHNOLOGY can coordinate preform tooling with blowing molds, cap molds and turnkey PET blowing line solutions. Auxiliary equipment and preform handling may also need to match the output target.
Send the cap drawing, bottle design, machine model and target output to HEYAN TECHNOLOGY’s mold engineering team. A useful quotation should explain the neck structure, cavity plan and trial method.
FAQ
Q: Can a preform mold be designed before the cap is finalized?
It can be modeled, but releasing final steel is risky. The cap drawing controls the thread and sealing interface. Recheck any provisional design before machining.
Q: Are all 28 mm PET neck finishes interchangeable?
No. Nominal diameter does not define thread geometry, finish height or sealing details. Use the exact closure drawing and confirm the cap supplier’s standard.
Q: What should be tested before mass production?
Check dimensions across all cavities. Run torque and leakage tests with production caps. Validate the preforms on the intended blowing and filling equipment.


