

What Causes Parting Lines on PET Bottles and How Can They Be Reduced?
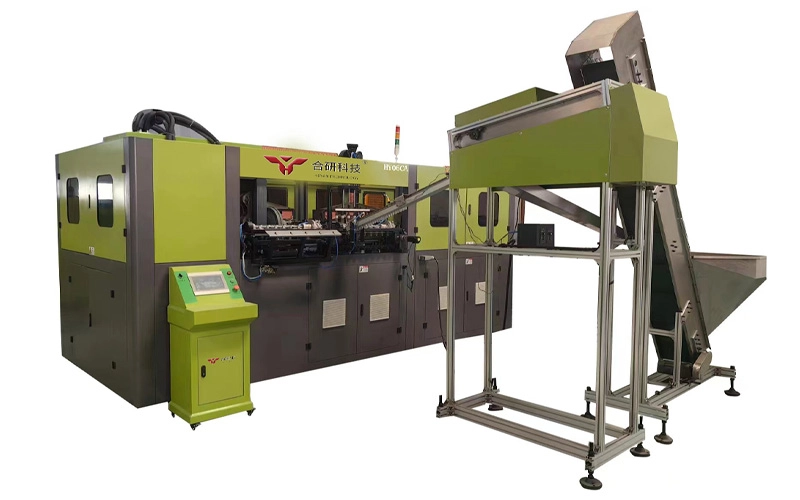
A thin line running down both sides of a PET bottle is normal. It marks where the two blow mold halves meet. On a stable line, the mark is narrow, even, and hard to feel.
Trouble starts when the line becomes raised, sharp, offset, or inconsistent. Parting lines on PET bottles are usually linked to mold condition, machine closing, or process settings that push hot PET into an existing gap.
What Is a Parting Line on a PET Bottle?
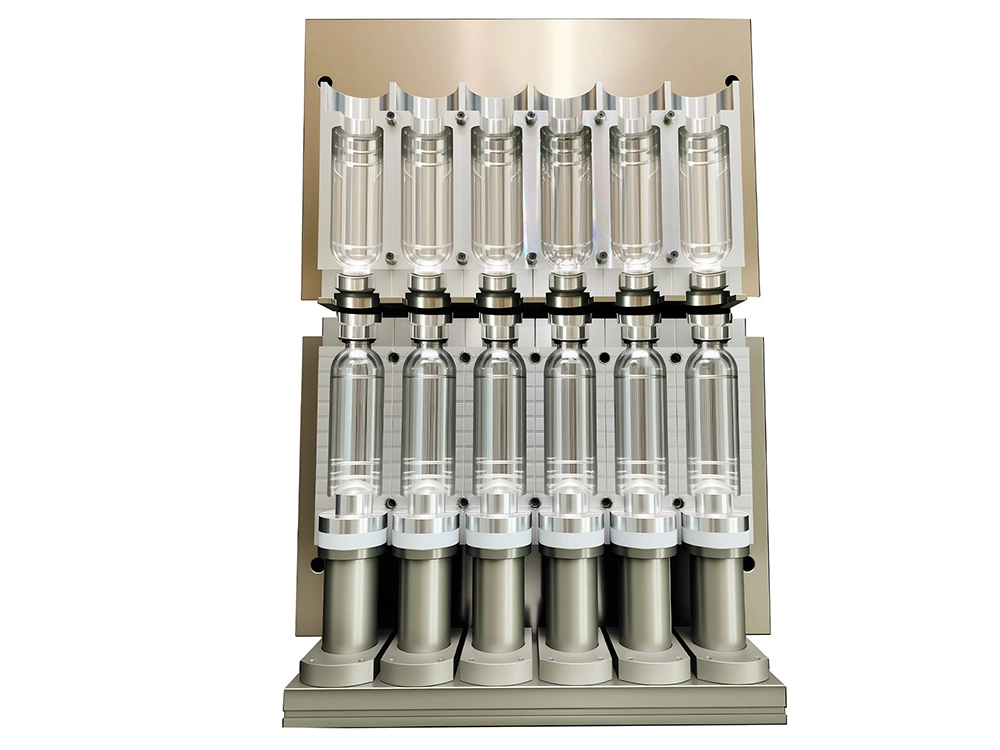
A PET blow mold normally has two main halves. When they close, the cavity forms the bottle body. Their meeting point leaves a vertical seam.
A normal line may remain visible under side lighting, especially on clear bottles with smooth panels. It should be fine and uniform, with both sides meeting at the same level.
An abnormal line may form a ridge, thin flash, rough edge, or visible step. A mechanical fault often creates the same ridge at the same position on bottles from one cavity.
Why Do PET Bottle Parting Lines Become Too Visible?
The seam is only the visible result. The cause is usually found at the mold interface, in the closing mechanism, or in a process condition that makes a small gap more obvious.
Are the Two Mold Halves Misaligned?
Misalignment usually creates a step. One side of the bottle sits slightly higher than the other. Lower pressure may soften the appearance, but it does not correct the geometry.
Worn guide pins, bushings, locating blocks, or locking parts are common causes. A mold may also sit off-center after changeover. On multi-cavity equipment, one worn station component may affect a single cavity.
Are the Parting Surfaces Dirty, Damaged, or Worn?
PET dust, oil, metal particles, or cleaning residue can prevent full mold contact. Even a small particle may hold the mold open enough to produce flash.
Dents, burrs, and worn closing surfaces create a permanent gap. Removing material without checking flatness may widen the seam.
Is Mold Closing or Locking Inconsistent?
A good blowing mold can still produce poor seams when the machine does not close it consistently. Loose mounting, worn locks, unstable motion, or vibration at production speed can shift the mold halves.
This fault may disappear during slow setup and return at full output. That pattern points toward movement or locking stability.
Are Process Conditions Making the Line Worse?
Process settings often amplify a mechanical problem rather than create it.
An overheated preform enters a small opening more easily. Excessive final blow pressure can enlarge existing flash. Uneven heating may push more material toward one side.
Blocked vents disturb how PET reaches the mold surface near shoulders, grips, or base details.
How Can You Identify the Actual Cause of the Parting Line?
Do not begin by changing several parameters. That usually hides the pattern.
Collect consecutive bottles and separate them by cavity. Mark whether the defect is raised, offset, sharp, or only visually dark. Compare both sides at the same height.
A defect repeated in one cavity often indicates a local mold or station problem. A change across all cavities often points to heating, pressure, cooling, or a common machine setting.
Clean the parting surfaces and run a controlled test. If the defect stays in the same place, inspect the mechanics before adjusting the process.
How Can Parting Lines on PET Bottles Be Reduced?
The repair should match the defect. A sharp fin, a broad step, and a dark visual line do not have the same cause.
Restore Accurate Mold Alignment
Check guides, bushings, locating features, locking blocks, base-mold position, and mounting interfaces. Replace worn parts instead of compensating with lower pressure.
Compare bottles from the same cavity before and after adjustment under unchanged conditions.
Clean and Repair the Parting Surfaces
Remove PET dust, oil, and residue using methods suitable for the mold material. Inspect the closing edges under strong light. Small raised burrs are easy to miss while the mold is installed.
Repairs should preserve the original geometry.
Optimize Venting Without Creating New Flash Paths
Vents must release trapped air without giving hot PET a path out of the cavity. Blocked vents weaken surface replication. Oversized or damaged vents may leave marks or flash.
Clean the vent grooves and confirm that previous maintenance has not changed their depth. Review venting together with cooling and bottle geometry.
For repeated seam problems, HEYAN TECHNOLOGY reviews the blow mold as part of the complete blowing system. That matters when the defect sits between mold alignment, machine interface, vent layout, and cooling. A replacement PET blow mold should match the machine model and bottle design, not only the old drawing.
Stabilize the Blow Molding Parameters
After mechanical causes are checked, adjust the heating profile, pre-blow timing, final blow pressure, mold temperature, and cooling time one variable at a time.
Lower pressure may reduce flash but weaken detail definition. A cooler preform may sharpen the seam while creating poor material distribution elsewhere. Watch the whole bottle and record every change.
When Is Mold Refurbishment or Redesign Necessary?
Refurbishment makes sense when one cavity still shows offset after cleaning, alignment checks, and controlled trials. Worn parting surfaces, damaged locating parts, distorted inserts, or an incorrect machine interface may not respond to routine adjustment.
Redesign may be needed when the seam sits on a visible panel, deep features trap air, or an old mold is moved to another blowing platform. The solution may involve the parting position, vent layout, cooling channels, inserts, or mounting details.
A supplier such as HEYAN TECHNOLOGY can then check bottle geometry, mold construction, and machine compatibility together. The aim is to remove the cause, not reproduce the same problem in a new tool.
Can PET Bottle Parting Lines Be Eliminated Completely?
A microscopic joint mark will usually remain. The realistic target is a line that is fine, even, stable, and acceptable for the package.
Clear water bottles, cosmetic containers, and label-free bottles expose small defects quickly. Full-body sleeves hide more variation, but raised flash, sharp edges, and obvious mismatch should not be accepted as normal.
How Can Manufacturers Prevent Parting Line Problems from Returning?
Clean the parting surfaces during routine mold care. Keep samples by cavity. Inspect guides, locks, inserts, and base components on a planned schedule.
Restricted cooling channels or unstable water temperature can change shrinkage around the seam. Vent grooves should be cleaned without enlarging them.
After a mold change, confirm alignment and closing at low speed, then increase output gradually. Do not use reduced pressure as a permanent way to hide mold wear.
What Should You Check First When a Parting Line Appears?
Inspect and clean the mold interface. Check alignment, mounting, locking, and base position. Move to heating, pressure, timing, and cooling only after the mechanical condition is known.
When outside support is needed, provide bottle photos, cavity numbers, the machine model, bottle drawing, and current settings. That gives the mold engineer evidence, not guesses.
FAQ
Q: Is a visible parting line always a defect?
No. A fine, uniform line is normal. It becomes a defect when it is raised, sharp, offset, unstable, or outside the approved standard.
Q: Can high blow pressure cause parting-line flash?
It can force PET into an existing gap and make flash worse. It rarely explains a repeated step by itself.
Why does only one cavity produce a heavy seam?
That often points to local wear, contamination, damaged locating parts, incorrect base position, or a station-specific closing issue.
Q: Can polishing remove the parting line?
Minor damage may be repaired, but uncontrolled polishing can increase the gap. Measure the mold geometry before removing material.